Part of the Build it with DNotifier series: Part 1 · Part 2 · Part 3 · Part 4 · Part 5 · Part 6.
Short answer: an AI workflow is a fixed series of steps where some steps call a model. In DNotifier you write it as a normal async function: create a
DNotifier.Workflowwith anentry(ctx)function, call the model withctx.sendAI()in each step, pass results between steps with plain variables orctx.state, then run it withnotifier.runWorkflow(). The example below triages a support ticket in two steps, in about 60 lines.
An agent decides its own next step. A workflow does not: you decide the steps, and the model does the parts that need language. That makes workflows predictable, cheap to run and easy to test, which is why most "AI automation" in production is really a workflow.
Drag-and-drop builders are a fine way to make one. This AI workflow tutorial is for when you'd rather build an AI workflow in the same language as the rest of your app, keep it in Git, and test it like any other function. If you searched "how do I build an AI workflow in 5 minutes" and kept landing on canvas tools, this is the code version: plain workflow automation in JavaScript, with a Dart version further down.
We'll build a ticket triage workflow:
- Classify the ticket: category, urgency, one-line summary, as JSON.
- Draft a first reply that uses that classification.
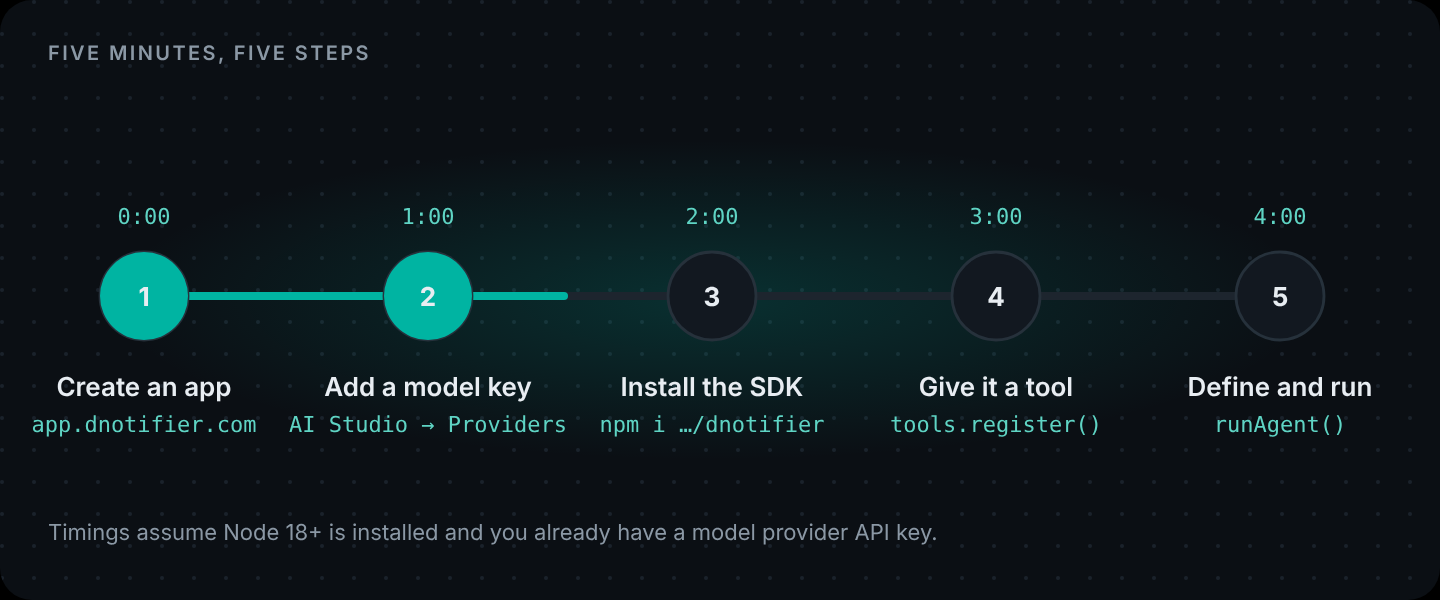
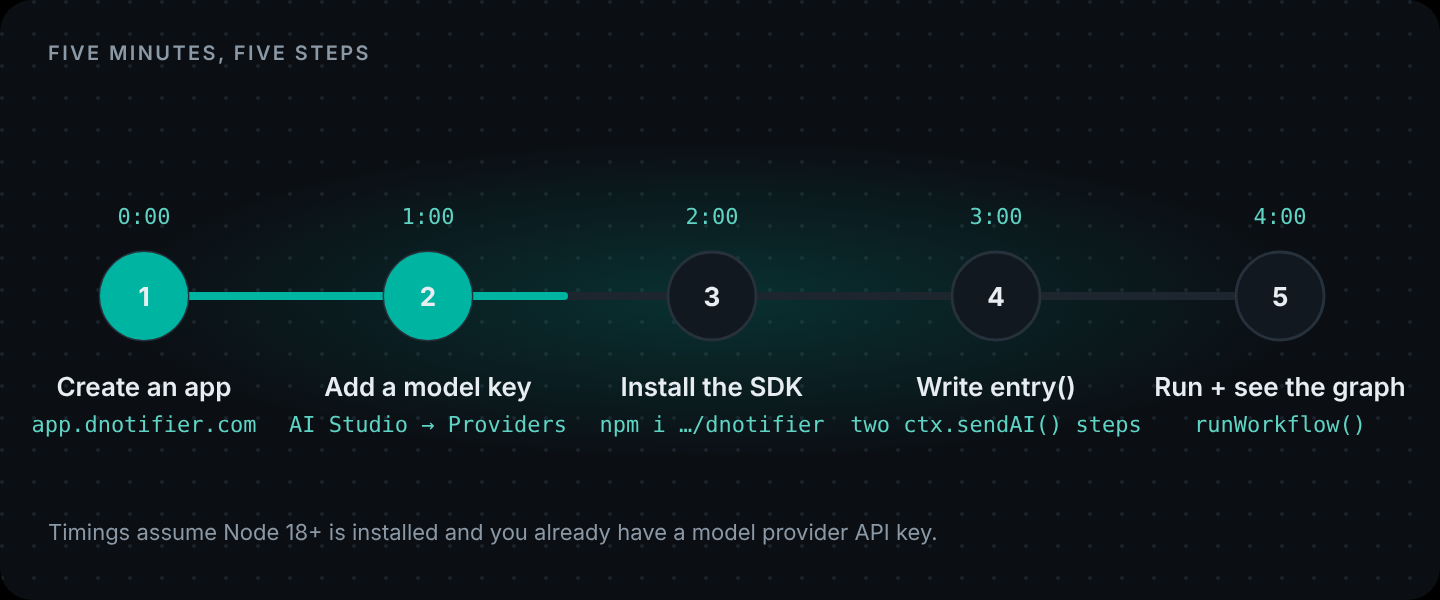
Minutes 0 to 2: App, key, SDK
If you did the 5-minute agent, skip this.
- Create an app at app.dnotifier.com and copy the app ID and secret. AI features need the Starter plan or above.
- Add your OpenAI key (or another provider's) in AI Studio → Providers.
- Install:
mkdir triage && cd triage
npm init -y && npm pkg set type=module
npm install @dnotifier-realtime/dnotifier
Minute 3: Write the workflow
Create triage.mjs:
// triage.mjs: a two-step AI workflow that triages a support ticket.
// Run: DNOTIFIER_APP_ID=... DNOTIFIER_SECRET=... node triage.mjs
import { DNotifier } from "@dnotifier-realtime/dnotifier";

const notifier = new DNotifier({
  appId: process.env.DNOTIFIER_APP_ID,
  secret: process.env.DNOTIFIER_SECRET,
  transport: "http",
  userId: "triage-script",
});
await notifier.connect();

const textOf = (res) => res?.data?.content ?? res?.content ?? "";

const triage = new DNotifier.Workflow({
  name: "ticket-triage",
  description: "Classify a support ticket, then draft a first reply",
  observability: true, // every step shows up in the dashboard under Workflows
  async entry(ctx) {
    // Step 1: classify. Ask for JSON so code, not prose, decides what happens next.
    const classified = await ctx.sendAI({
      message: {
        useKnowledgeBase: false,
        messages: [
          {
            role: "system",
            content:
              'Classify this support ticket. Reply with JSON only: ' +
              '{"category":"billing|bug|how-to|other","urgency":"low|normal|high","summary":"one sentence"}',
          },
          { role: "user", content: ctx.input },
        ],
      },
      saveHistory: false,
      label: "Classify ticket",
    });

    let ticket;
    try {
      ticket = JSON.parse(textOf(classified));
    } catch {
      ticket = { category: "other", urgency: "normal", summary: ctx.input.slice(0, 120) };
    }
    ctx.state.ticket = ticket;

    // Step 2: draft a reply that uses what step 1 found.
    const draft = await ctx.sendAI({
      message: {
        useKnowledgeBase: false,
        messages: [
          {
            role: "system",
            content:
              `You write first replies for a support team. The ticket is a ${ticket.category} issue ` +
              `with ${ticket.urgency} urgency. Be warm, specific and under 90 words. ` +
              `Don't promise refunds or dates.`,
          },
          { role: "user", content: ctx.input },
        ],
      },
      saveHistory: false,
      label: "Draft reply",
    });

    return { ...ticket, draft: textOf(draft) };
  },
});

const ticketText =
  process.argv[2] ??
  "Hi, I was charged twice for my Pro plan this month and I need the second charge reversed before Friday.";

const run = await notifier.runWorkflow({ workflow: triage, input: ticketText });

console.log(run.result);
console.log("executionId:", run.executionId);
A few things worth noticing:
- The workflow is just a function.
entry(ctx)runs top to bottom. If you can write an async function, you can write a workflow. - Step 1 asks for JSON. Making the model return structured data means code decides what happens next. If the JSON is broken, the catch gives a safe default instead of failing the whole run.
ctx.stateholds shared data. Later steps (and the run trace) can see what earlier steps found.labelnames each step. Withobservability: true, those names show up in the run trace in your dashboard.
Minute 4: Run it
DNOTIFIER_APP_ID=your-app-id DNOTIFIER_SECRET=your-secret node triage.mjsYou get back an object with category, urgency, summary and draft. For the sample ticket (a double charge with a Friday deadline) you should see billing and high, and a reply that acknowledges the deadline without promising a refund, because we told it not to.
Then open Workflows in the dashboard and find the run by its executionId. You should see "Classify ticket" and "Draft reply" recorded as steps, with their inputs and outputs. That is the part that saves you hours later.
The same workflow in Dart
// bin/triage.dart: the same two-step triage workflow in Dart.
// Run: dart run bin/triage.dart --define=DNOTIFIER_APP_ID=... --define=DNOTIFIER_SECRET=...
import 'dart:convert';

import 'package:dnotifier/dnotifier.dart';

const appId = String.fromEnvironment('DNOTIFIER_APP_ID');
const secret = String.fromEnvironment('DNOTIFIER_SECRET');

String textOf(dynamic res) =>
    (res is Map && res['data'] is Map) ? '${res['data']['content'] ?? ''}' : '$res';

Future<void> main(List<String> args) async {
  final notifier = DNotifier(
    appId: appId,
    secret: secret,
    transport: 'http',
    userId: 'triage-script',
    onConnected: () {},
  );
  await notifier.connect();

  final triage = DNotifier.Workflow(
    name: 'ticket-triage',
    observability: true,
    entry: (ctx) async {
      final ticketText = ctx.input as String;

      final classified = await ctx.sendAI(
        message: {
          'useKnowledgeBase': false,
          'messages': [
            {
              'role': 'system',
              'content': 'Classify this support ticket. Reply with JSON only: '
                  '{"category":"billing|bug|how-to|other","urgency":"low|normal|high","summary":"one sentence"}',
            },
            {'role': 'user', 'content': ticketText},
          ],
        },
        saveHistory: false,
        label: 'Classify ticket',
      );

      Map<String, dynamic> ticket;
      try {
        ticket = jsonDecode(textOf(classified)) as Map<String, dynamic>;
      } catch (_) {
        ticket = {'category': 'other', 'urgency': 'normal', 'summary': ticketText};
      }
      ctx.state['ticket'] = ticket;

      final draft = await ctx.sendAI(
        message: {
          'useKnowledgeBase': false,
          'messages': [
            {
              'role': 'system',
              'content': 'You write first replies for a support team. This is a '
                  '${ticket['category']} issue with ${ticket['urgency']} urgency. '
                  'Be warm, specific and under 90 words. Don\'t promise refunds or dates.',
            },
            {'role': 'user', 'content': ticketText},
          ],
        },
        saveHistory: false,
        label: 'Draft reply',
      );

      return {...ticket, 'draft': textOf(draft)};
    },
  );

  final run = await notifier.runWorkflow(
    workflow: triage,
    input: args.isNotEmpty
        ? args.first
        : 'I was charged twice for my Pro plan this month. Please reverse it before Friday.',
  );

  print(run.result);
  print('executionId: ${run.executionId}');
}
dart run bin/triage.dart --define=DNOTIFIER_APP_ID=... --define=DNOTIFIER_SECRET=...Run it in the cloud
A workflow like this usually runs behind an API route (your help desk posts the ticket and gets the triage back) or from a queue consumer. Over HTTP it holds no open connection, so it fits the same container setup as the agent API in part 1:
Deploy to AWS
| Piece | AWS service | Why |
|---|---|---|
| React build | S3 bucket behind CloudFront | Static files on a CDN. Add a second CloudFront behavior for /api/* pointing at the load balancer, so the browser calls the same domain. |
| Node container | Amazon ECS on Fargate, behind an Application Load Balancer | Long-lived containers handle server-sent events and WebSockets without timeouts. (App Runner moved to maintenance mode in 2026; AWS points new apps to ECS Express Mode.) |
| App ID + secret | AWS Secrets Manager | Injected into the task as environment variables through the task definition's secrets block. Never baked into the image. |
| Your data | Amazon RDS or DynamoDB | Only your tool code talks to it, from inside the VPC. |
| Logs | CloudWatch Logs | Log the DNotifier executionId next to each request, so you can jump from a CloudWatch line to the run trace. |
| Models (optional) | Amazon Bedrock via the aws_bedrock provider | Add Bedrock in AI Studio → Providers if you want inference billed to your AWS account. Any other provider works too. |
# 1. Store the credentials (once)
aws secretsmanager create-secret --name dnotifier/prod \
  --secret-string '{"DNOTIFIER_APP_ID":"<app-id>","DNOTIFIER_SECRET":"<secret>"}'

# 2. Build and push the image
aws ecr create-repository --repository-name order-help-api
aws ecr get-login-password | docker login --username AWS --password-stdin <account>.dkr.ecr.<region>.amazonaws.com
docker build -t <account>.dkr.ecr.<region>.amazonaws.com/order-help-api:1 .
docker push <account>.dkr.ecr.<region>.amazonaws.com/order-help-api:1

# 3. In the ECS task definition, pull the values from Secrets Manager:
#   "secrets": [
#     { "name": "DNOTIFIER_APP_ID", "valueFrom": "<secret-arn>:DNOTIFIER_APP_ID::" },
#     { "name": "DNOTIFIER_SECRET", "valueFrom": "<secret-arn>:DNOTIFIER_SECRET::" }
#   ],
#   "portMappings": [{ "containerPort": 3001 }]
Watch out: Set the load balancer's idle timeout above your longest agent run if you use the streaming endpoint.
Deploy to Azure
| Piece | Azure service | Why |
|---|---|---|
| React build | Azure Static Web Apps | Link the Container App as the site's backend (Standard plan) so /api calls stay on the same domain, or call the API's own URL with CORS. |
| Node container | Azure Container Apps | Managed containers with HTTPS ingress, scale rules and long-lived connections. |
| App ID + secret | Container Apps secrets, backed by Key Vault | Store the secret in Key Vault and reference it from the app with a managed identity; expose it as an env var with secretref:. |
| Your data | Azure Database for PostgreSQL or Cosmos DB | Reachable only from your app's environment. |
| Logs | Azure Monitor / Application Insights | Log the DNotifier executionId with each request. |
| Models (optional) | Azure OpenAI via the azure_ai provider | Keeps model usage on your Azure bill and in your chosen region. Any other provider works too. |
# 1. Build from source and deploy (creates the environment if needed)
az containerapp up --name order-help-api --resource-group dnotifier-rg \
  --location westeurope --source . --ingress external --target-port 3001

# 2. Add the secret and point env vars at it
az containerapp secret set -n order-help-api -g dnotifier-rg \
  --secrets dnotifier-secret=<secret>
az containerapp update -n order-help-api -g dnotifier-rg \
  --set-env-vars DNOTIFIER_APP_ID=<app-id> DNOTIFIER_SECRET=secretref:dnotifier-secret NODE_ENV=production
Watch out: If you use Static Web Apps linked backends, the API is only reachable through the site; that's usually what you want.
Deploy to Google Cloud
| Piece | Google Cloud service | Why |
|---|---|---|
| React build | Firebase Hosting | Rewrite /api/** to the Cloud Run service so the browser calls the same domain. Hosting-to-Cloud Run requests time out after 60 seconds, so keep agent runs short or call Cloud Run's URL directly for long streams. |
| Node container | Cloud Run | Deploy straight from source. Cloud Run sets PORT, which the example server already reads. |
| App ID + secret | Secret Manager | Mounted as env vars with --set-secrets. Never in the image or in the repo. |
| Your data | Cloud SQL or Firestore | Only your tool code reads it. |
| Logs | Cloud Logging | Log the DNotifier executionId with each request. |
| Models (optional) | Gemini via the google_gemini provider | Add your Gemini key in AI Studio → Providers. Any other provider works too. |
# 1. Store the secret (once)
printf '%s' '<secret>' | gcloud secrets create dnotifier-secret --data-file=-

# 2. Build from source and deploy
gcloud run deploy order-help-api --source . --region europe-west1 \
  --set-env-vars DNOTIFIER_APP_ID=<app-id>,NODE_ENV=production \
  --set-secrets DNOTIFIER_SECRET=dnotifier-secret:latest \
  --allow-unauthenticated   # your own auth still runs inside the app
Watch out: Cloud Run scales to zero by default. The first request after a quiet period pays a cold start; set --min-instances 1 if that matters.
# Dockerfile (same on every cloud)
FROM node:22-slim
WORKDIR /app
COPY package*.json ./
RUN npm install --omit=dev
COPY . .
ENV NODE_ENV=production
EXPOSE 3001
CMD ["node", "index.js"]
Where to take it next
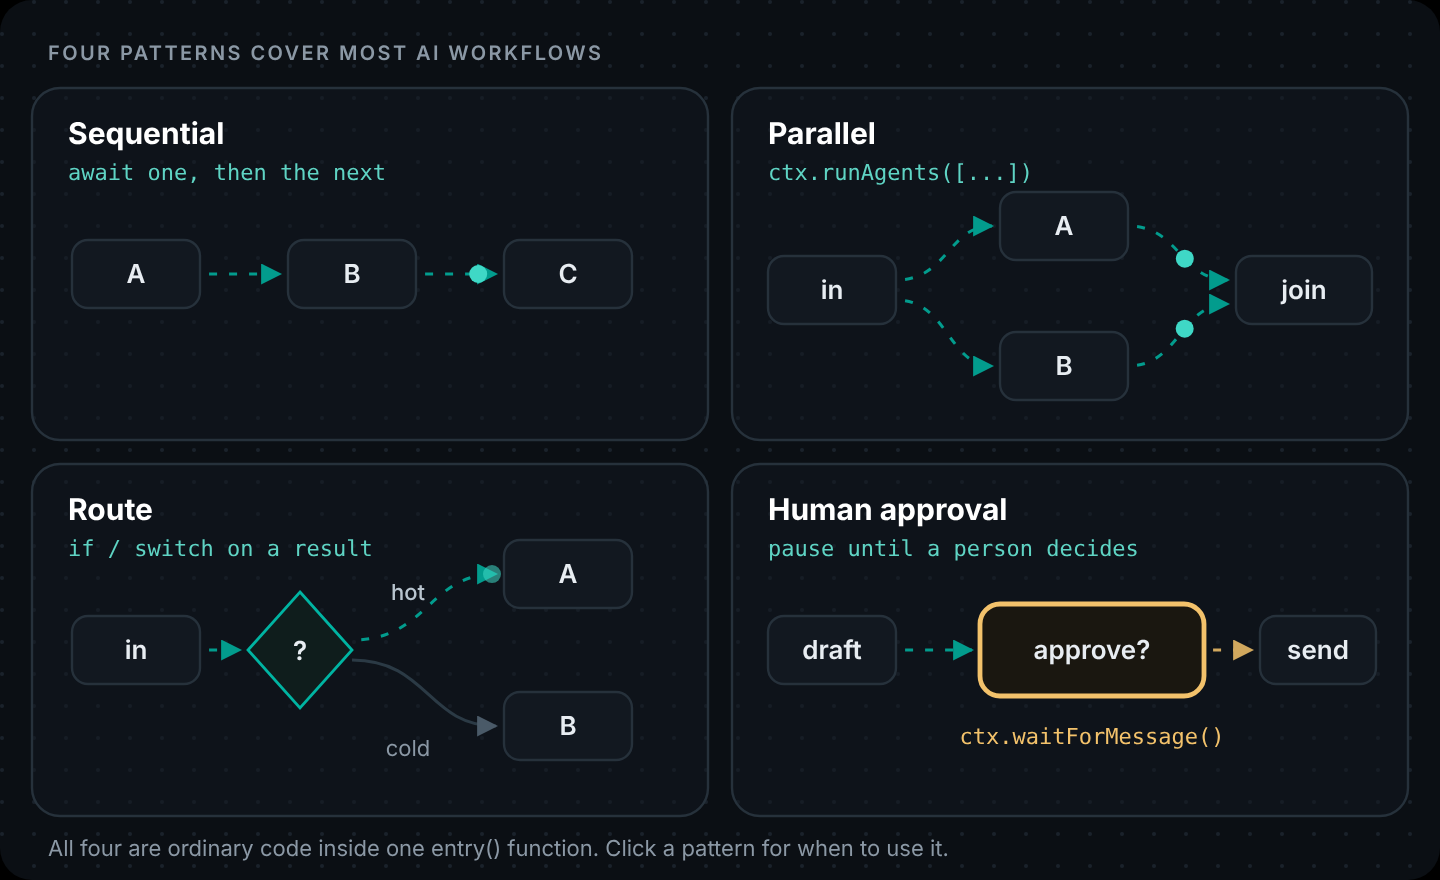
Two steps in a row is the simplest pattern. Real processes need a few more:
- Parallel steps, when two lookups don't depend on each other.
- Routing, when the classification decides which branch runs.
- Human approval, when a person should check the draft before it's sent.
- Agents as steps, when one step needs to call tools on its own.
All four are in How to Build an AI Workflow in Code, where we build an inbound lead workflow that researches, scores, routes and waits for a sign-off. To call this workflow from your app, put it behind an API route the same way we did with the agent in part 1.
Workflows you write in code, traced step by step. Create your app · Workflows · Build a workflow (docs)
Next in the series: Part 5: How to Build an AI Workflow in Code
Previous: Part 3: AI Agent Architecture
Get the code. Every example in this series, as runnable projects: dnotifier-agent-workflow-examples.zip. Run each one with your own app ID, secret and model key.
FAQ
What is an AI workflow?
A set of steps that always run in a defined order, where one or more steps use an AI model, for example classify, then draft, then route. Unlike an agent, the workflow's path is set by your code.
Do I need a drag-and-drop tool to build an AI workflow?
No. Visual tools are good for quick automations. Writing the workflow in code gives you version control, tests, code review and the full power of your language. With DNotifier, a workflow is an async function.
How do I pass data between workflow steps?
Use ordinary variables inside entry(ctx), or ctx.state when you want the value shared with agents and visible in the run trace.
What's the difference between an AI workflow and an AI agent?
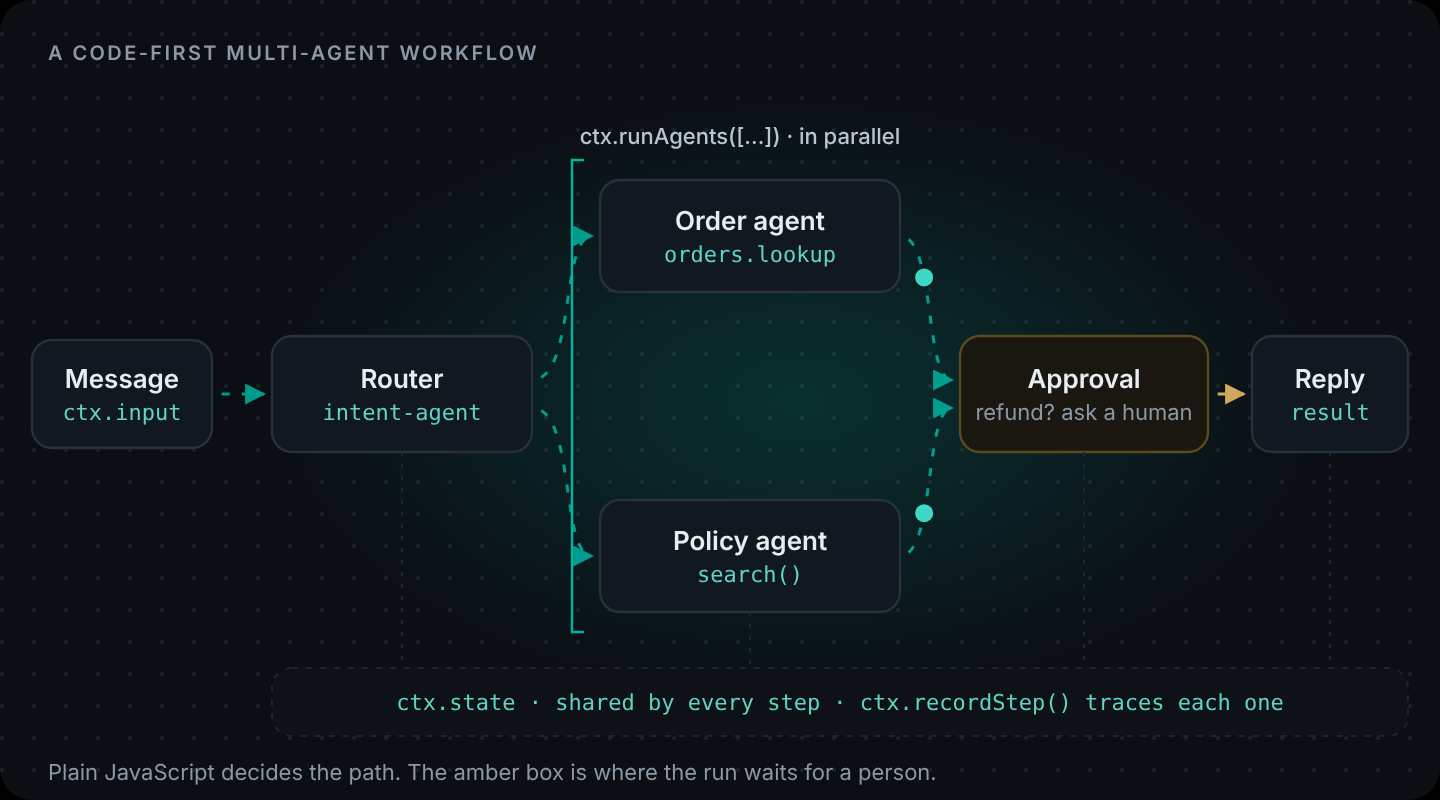
In a workflow, your code decides the steps. In an agent, the model decides which tools to call and when. Many real systems combine them: a workflow whose steps are agents. See How to Build a Multi-Agent Workflow.
Can I use different models for different steps?
Yes. ctx.sendAI() accepts provider and model, so a cheap model can classify and a stronger one can write.